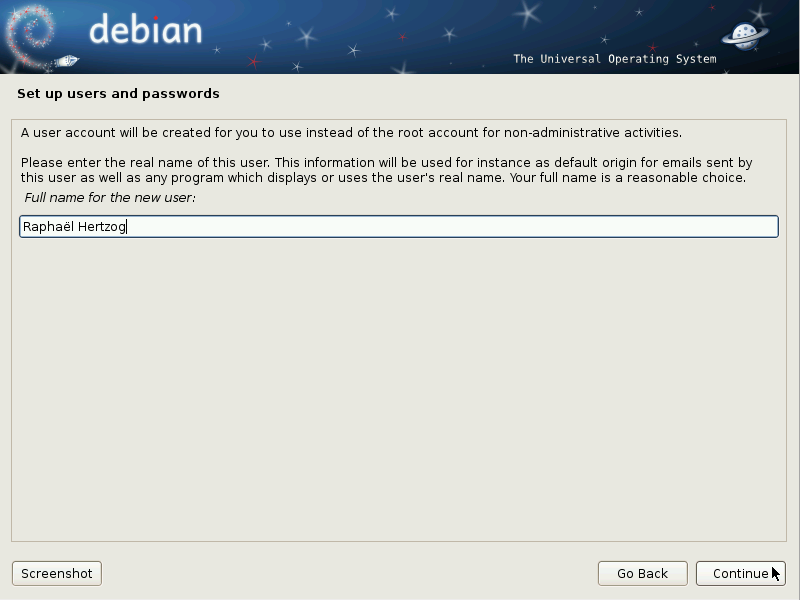
4.2.13. Starting the Partitioning Tool
The partitioning step is traditionally difficult for new users. It is necessary to define the various portions of the disks (or “partitions”) on which the Linux filesystems and virtual memory (swap) will be stored. This task is complicated if another operating system that you want to keep is already on the machine. Indeed, you will then have to make sure that you do not alter its partitions (or that you resize them without causing damage).
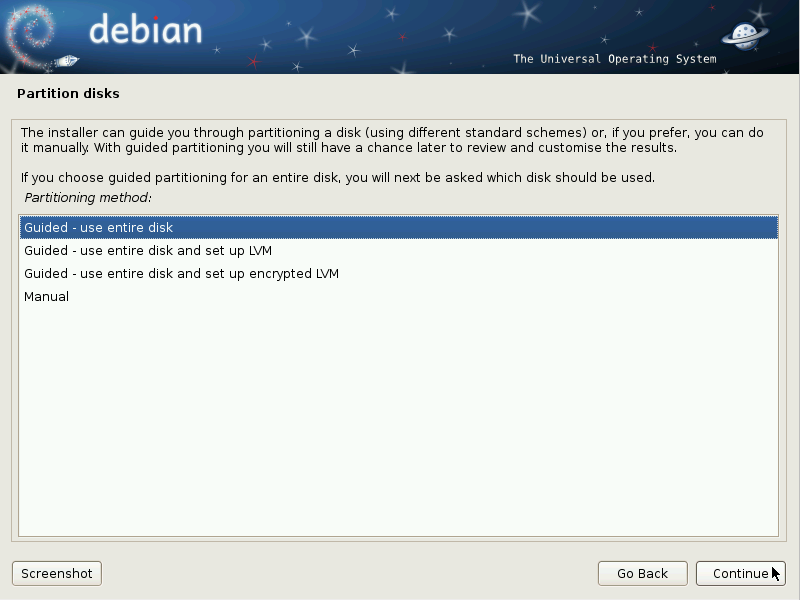
Fortunately, the partitioning software has an “guided” mode which recommends partitions for the user to make — in most cases, you can simply validate the software's suggestions.
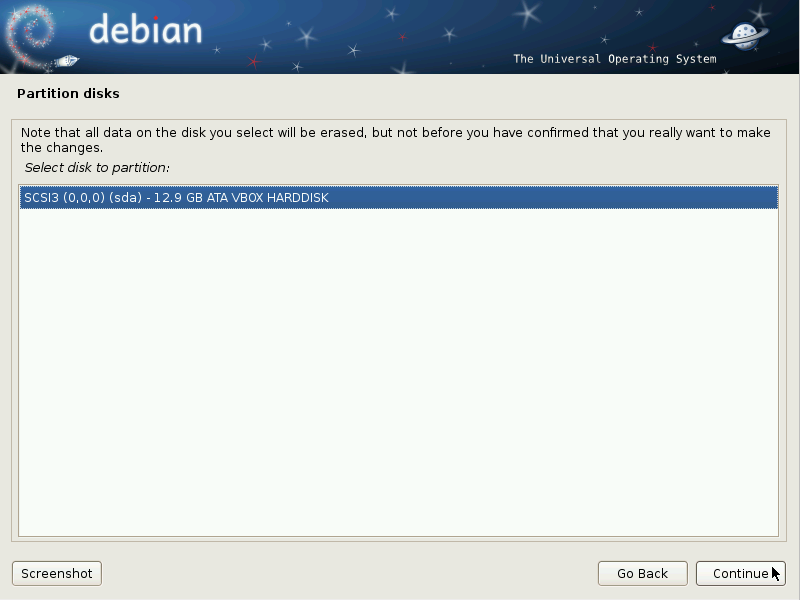
The first screen in the partitioning tool offers the choice of using an entire hard drive to create various partitions. For a (new) computer which will solely use Linux, this option is clearly the simplest, and you can choose the option “Guided - use entire disk”. If the computer has two hard drives for two operating systems, setting one drive for each is also a solution that can facilitate partitioning. In both of these cases, the next screen offers to choose the disk where Linux will be installed by selecting the corresponding entry (for example, “SCSI3 (0,0,0) (sda) - 12.9 GB ATA VBOX HARDDISK”). You then start guided partitioning.
Guided partitioning can also set up LVM logical volumes instead of partitions (see below). Since the remainder of the operation is the same, we will not go over the option “Guided - use entire disk and set up LVM” (encrypted or not).
In other cases, when Linux must work alongside other already existing partitions, you need to choose manual partitioning.
4.2.13.1. Guided partitioning
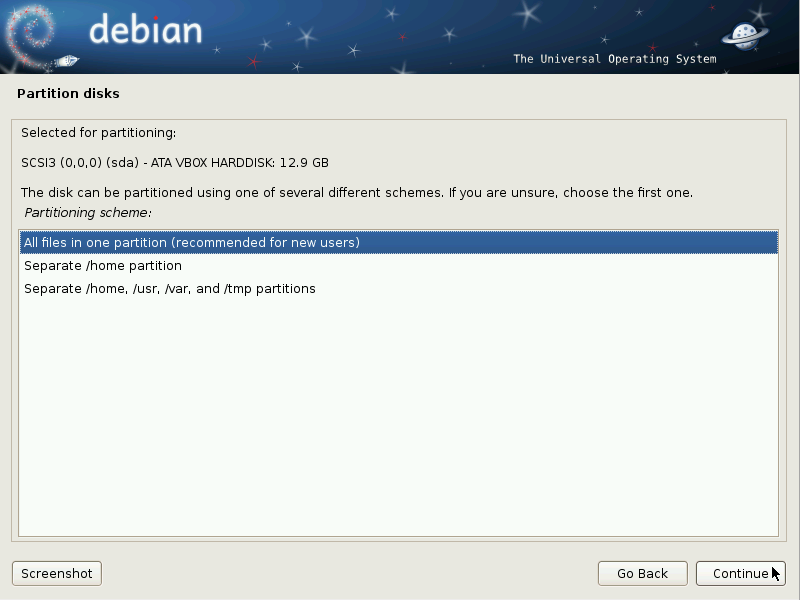
The guided partitioning tool offers three partitioning methods, which correspond to different usages.
The first method is called “All in one partition”. The entire Linux system tree is stored in a single filesystem, corresponding to the root
/ directory. This simple and robust partitioning fits perfectly for personal or single-user systems. In fact, two partitions will be created: the first will house the complete system, the second the virtual memory (swap).
The second method, “Separate
/home/ partition”, is similar, but splits the file hierarchy in two: one partition contains the Linux system (
/), and the second contains “home directories” (meaning user data, in files and subdirectories available under
/home/).
The last partitioning method, called “Separate
/home,
/usr,
/var, and
/tmp partitions”, is appropriate for servers and multi-user systems. It divides the file tree into many partitions: in addition to the root (
/) and user accounts (
/home/) partitions, it also has partitions for applications (
/usr/), server software data (
/var/, and temporary files (
/tmp/). These divisions have several advantages. Users can not lock up the server by consuming all available hard drive space (they can only fill up
/tmp/ and
/home/). The daemon data (especially logs) can no longer clog up the rest of the system.
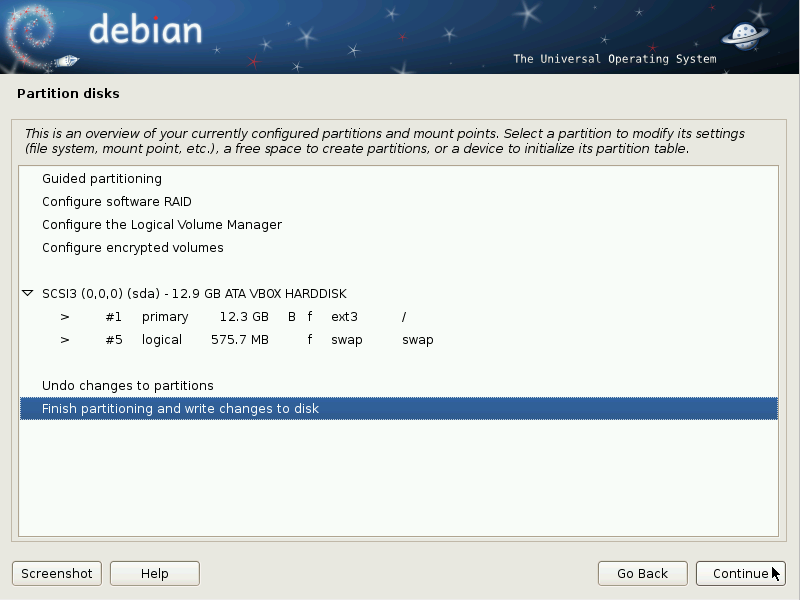
After choosing the type of partition, the software calculates a suggestion, and describes it on the screen; the user can then modify it if needed. You can, in particular, choose another filesystem if the standard choice (
ext3) isn't appropriate. In most cases, however, the proposed partitioning is reasonable and it can be accepted by selecting the “Finish partitioning and write changes to disk” entry.
4.2.13.2. Manual Partitioning
Manual partitioning allows greater flexibility, allowing the user to choose the purpose and size of each partition. Furthermore, this mode is unavoidable if you wish to use software RAID.
The first screen displays the available disks, their partitions, and any possible free space that has not yet been partitioned. You can select each displayed element; pressing the
Enter key then gives a list of possible actions.
You can erase all partitions on a disk by selecting it.
When selecting free space on a disk, you can manually create a new partition. You can also do this with guided partitioning, which is an interesting solution for a disk that already contains another operating system, but which you may wish to partition for Linux in a standard manner. See the previous section for more details on guided partitioning.
When choosing a partition, you can indicate the manner in which you are going to use it:
format it and include it in the file tree by choosing a mount point;
use it as a swap partition;
make it into a “physical volume for encryption” (to protect the confidentiality of data on certain partitions, see below);
make it a “physical volume for LVM” (this concept is discussed in greater detail later in this chapter);
use it as a RAID device (see later in this chapter);
or the choice not to use it, and therefore leave it unchanged.
4.2.13.3. Configuring Multidisk Devices (Software RAID)
Some types of RAID allow the duplication of information stored on hard drives to prevent data loss in the event of a hardware problem affecting one of them. Level 1 RAID keeps a simple, identical copy (mirror) of a hard drive on another drive, while level 5 RAID splits redundant data over several disks, thus allowing the complete reconstruction of a failing drive.
We will only describe level 1 RAID, which is the simplest to implement. The first step involves creating two partitions of identical size located on two different hard drives, and to label them “physical volume for RAID”.
You must then choose “Configure software RAID” in the partitioning tool to combine these two partitions into a new virtual disk and select “Create MD device” in the configuration screen. You then need to answer a series of questions about this new device. The first question asks about the RAID level to use, which in our case will be “RAID1”. The second question asks about the number of active devices — two in our case, which is the number of partitions that needs to be included in this MD device. The third question is about the number of spare devices — 0; we have not planned any additional disk to take over for a possible defective disk. The last question requires you to choose the partitions for the RAID peripheral — these would be the two that we have set aside for this purpose (make sure you only select the partitions that explicitly mention “raid”).
Back to the main menu, a new virtual “RAID” disk appears. This disk is presented with a single partition which can not be deleted, but whose use we can choose (just like for any other partition).
4.2.13.4. Configuring the Logical Volume Manager (LVM)
LVM allows you to create “virtual” partitions that span over several disks. The benefits are twofold: the size of the partitions are no longer limited by individual disks but by their cumulative volume, and you can at any time increase the size of an existing partition by adding an additional disk when needed.
LVM uses a particular terminology: a virtual partition is a “logical volume”, which is part of a “volume group”, or an association of several “physical volumes”. Each of these terms in fact corresponds to a “real” partition (or a software RAID device).
This technique works in a very simple way: each volume, whether physical or logical, is split into blocks of the same size, which are made to correspond by LVM. The addition of a new disk will cause the creation of a new physical volume, and these new blocks can be associated to any volume group. All of the partitions in the volume group that is thus expanded will have additional space into which they can extend.
The partitioning tool configures LVM in several steps. First you must create on the existing disks the partitions that will be “physical volumes for LVM”. To activate LVM, you need to choose “Configure the Logical Volume Manager (LVM)”, then on the same configuration screen “Create a volume group”, to which you will associate the existing physical volumes. Finally, you can create logical volumes within this volume group. Note that the automatic partitioning system is able to do all of this implementation.
In the partitioning menu, each physical volume will appear as a disk with a single partition which can not be deleted, but that you can use as desired.
4.2.13.5. Setting Up Encrypted Partitions
To guarantee the confidentiality of your data, for instance in the event of the loss or theft of your computer or a hard drive, it is possible to encrypt the data on some partitions. This feature can be added underneath any filesystem, since, as for LVM, Linux (and more particularly the dm-crypt driver) uses the Device Mapper to create a virtual partition (whose content is protected) based on an underlying partition that will store the data in an encrypted form (thanks to LUKS, Linux Unified Key Setup, a standard format that enables the storage of encrypted data as well as meta-information that indicates the encryption algorithms used).
To create an encrypted partition, you must first assign an available partition for this purpose. To do so, select a partition and indicate that it is to be used as a “physical volume for encryption”. After partitioning the disk containing the physical volume to be made, choose “Configure encrypted volumes”. The software will then propose to initialize the physical volume with random data (making the localization of the real data more difficult), and will ask you to enter an “encryption passphrase”, which you will have to enter every time you boot your computer in order to access the content of the encrypted partition. Once this step has been completed, and you have returned to the partitioning tool menu, a new partition will be available in an “encrypted volume”, which you can then configure just like any other partition. In most cases, this partition is used as a physical volume for LVM so as to protect several partitions (LVM logical volumes) with the same encryption key, including the swap partition (see sidebar).